Installing Ubuntu 18.04 & 20.04 LTS Server in VMWare Fusion
21 Apr 2020I just setup a Ubuntu Server 18.04 LTS Virtual Machine on VMWare Fusion on my Macbook and whilst the basic process was just following the default steps but there was a few other things I needed to change to get things working. Hence this post. If you need VMWare Fusion you can buy and install it from the VMWare website. You’ll also need the Ubuntu Server 18.04 LTS ISO which can be found on the Ubuntu Server downloads page.
Updated 27th April 2020: A few days after writing this post Ubuntu released 20.04 LTS. I went through the same process using Ubuntu Server 20.04 LTS ISO and the steps are the same.
New Virtual Machine
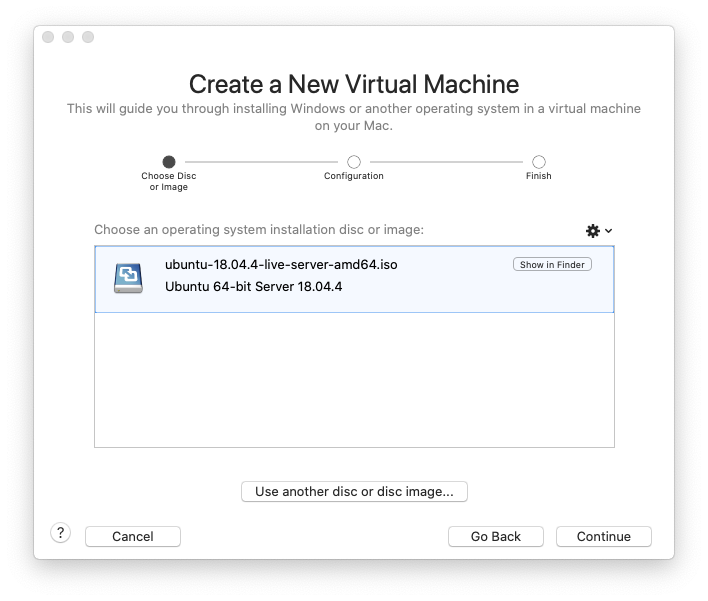
Walking through the VMWare Fusion (I’m using version 11.5) “Add Virtual Machine” wizard takes you through creating the Virtual Machine. I stuck with the defaults for the most part, other than changing the name of the VM and ensuring it was created on an exteral SSD I house my VM files on.
So File -> New... (⌘N) from the VMWare Fusion menu
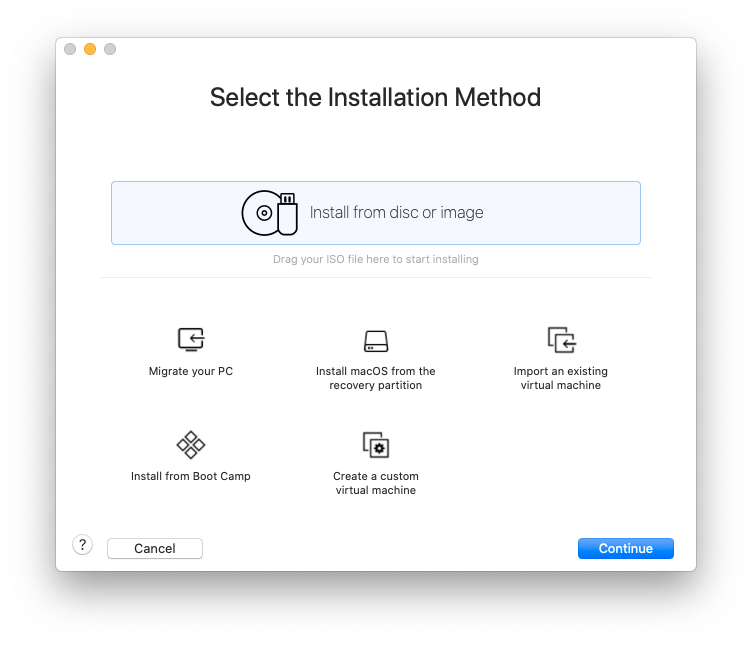
Drag the iso file from Finder into the “Select the Installation Method” dialog
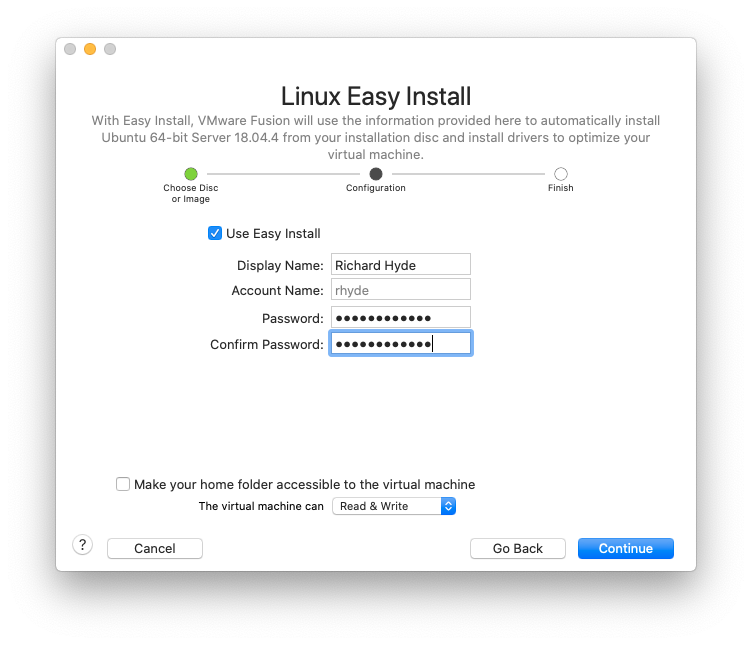
Hit the “Contiune” button and enter a password, it doesn’t matter what as it will be ignored by the Ubuntu Server installation which will add a user for you as part of the setup process, then continue some more.
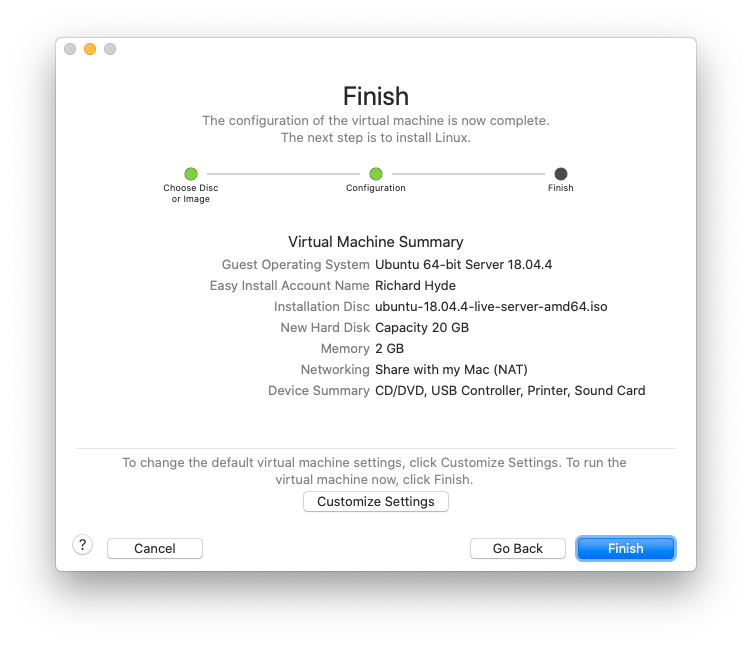
Before we boot the VM and start the Ubuntu Server Installation process we need to change the Network Adaptor for the VM. So instead of clicking “Finish” button click the “Customize Settings” button and save the VM.
Then in the VMWare Fusion menu choose the Virtual Machine -> Network Adapter -> Bridged (Autodetect) option.
Now you can start the new VM.
Ubuntu Server 18.04 LTS Setup
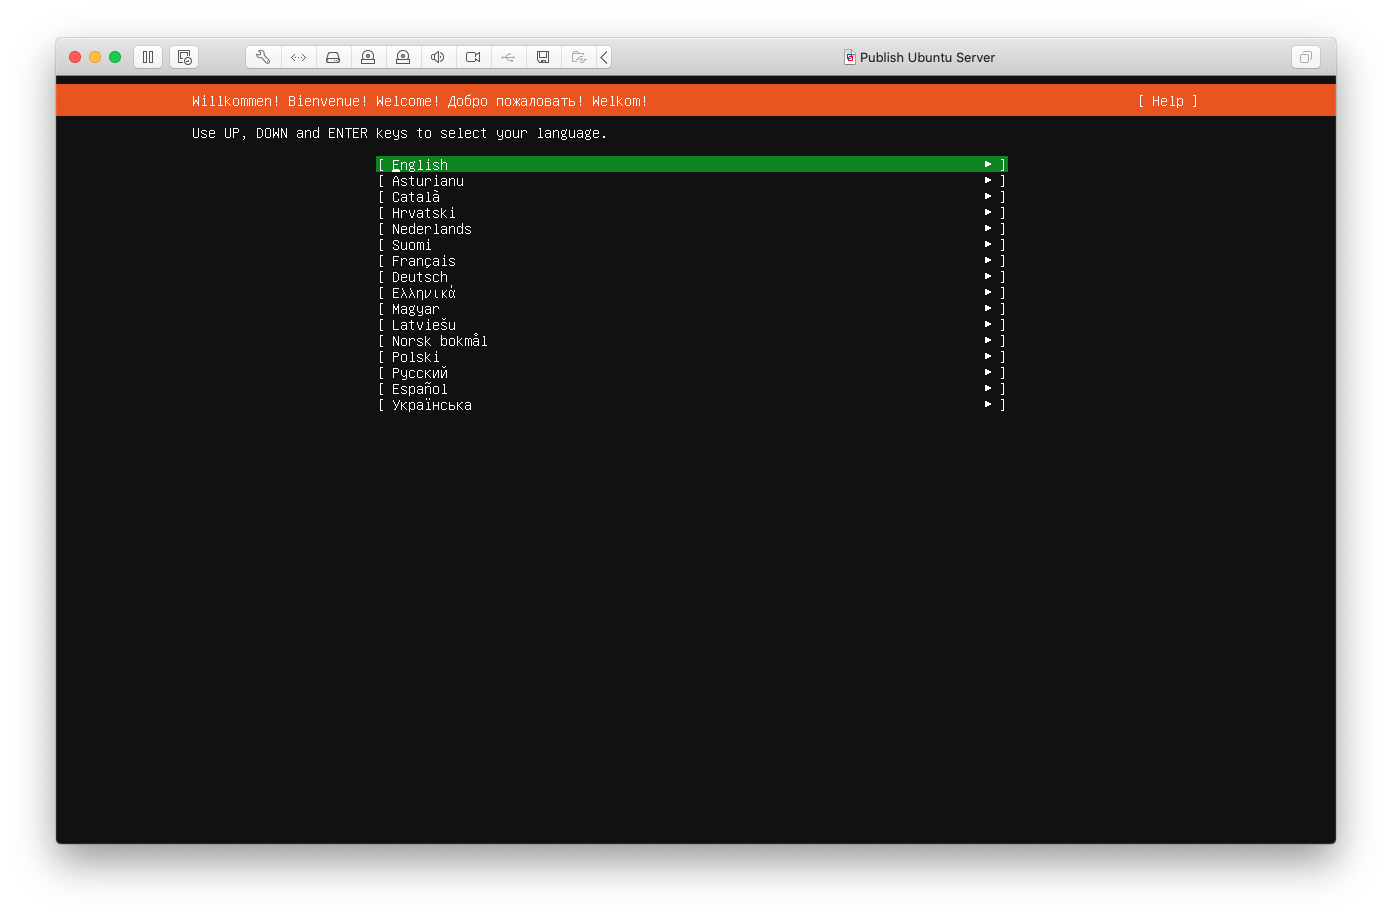
Once the VM has booted up you’ll need to select your language.
Configure your keyboard. The “English (UK) - English (UK, Macintosh)” layout mostly works for my Macbook and Apple Wireless Keyboards.

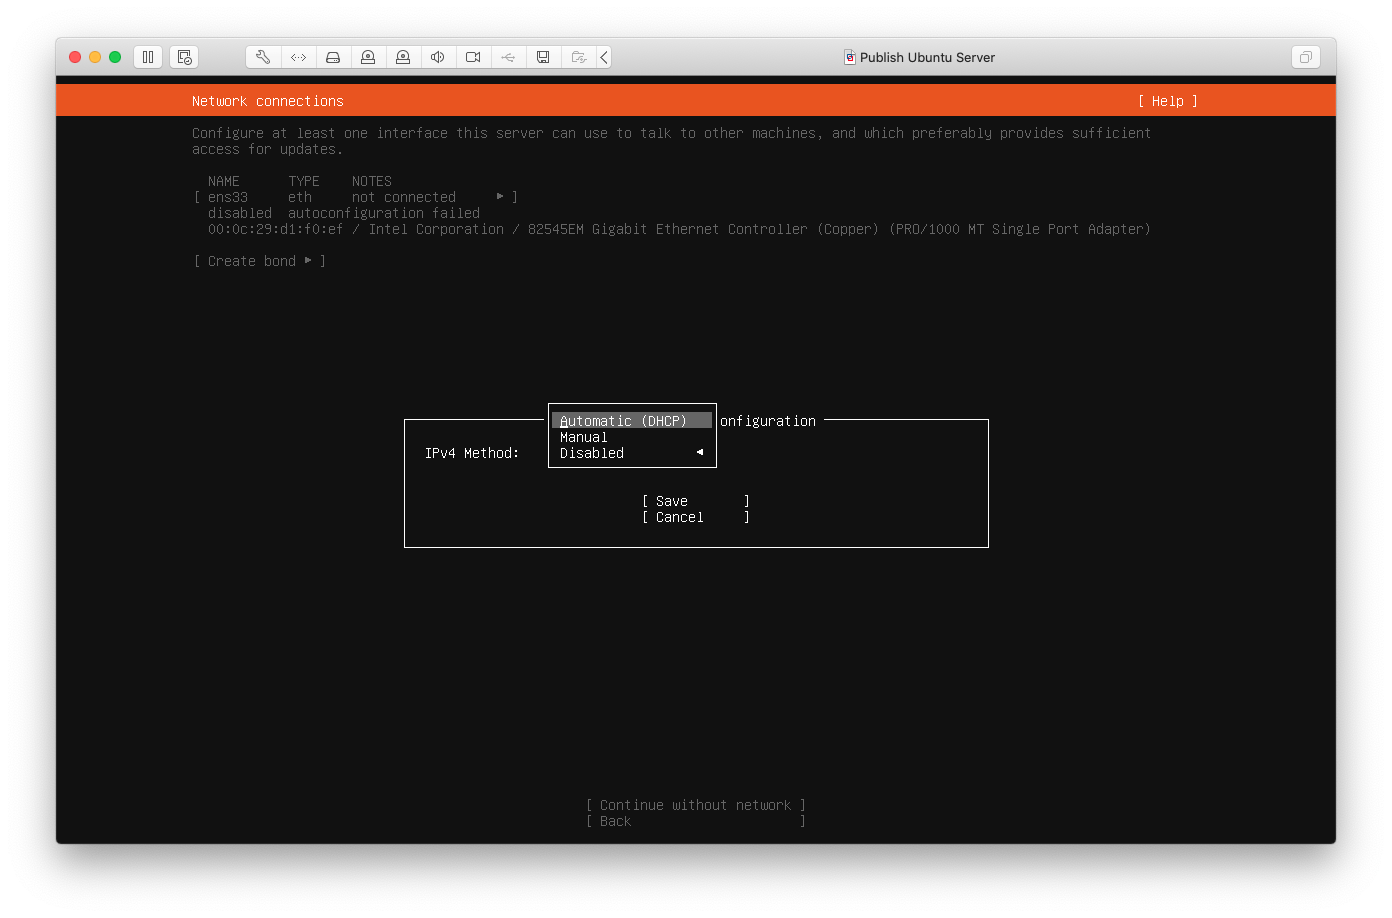
You’ll want to check the network adapter is configured for DHCP, so select the ens33 adapter (in this case), and select IPv4 and Automatic (DHCP) options.
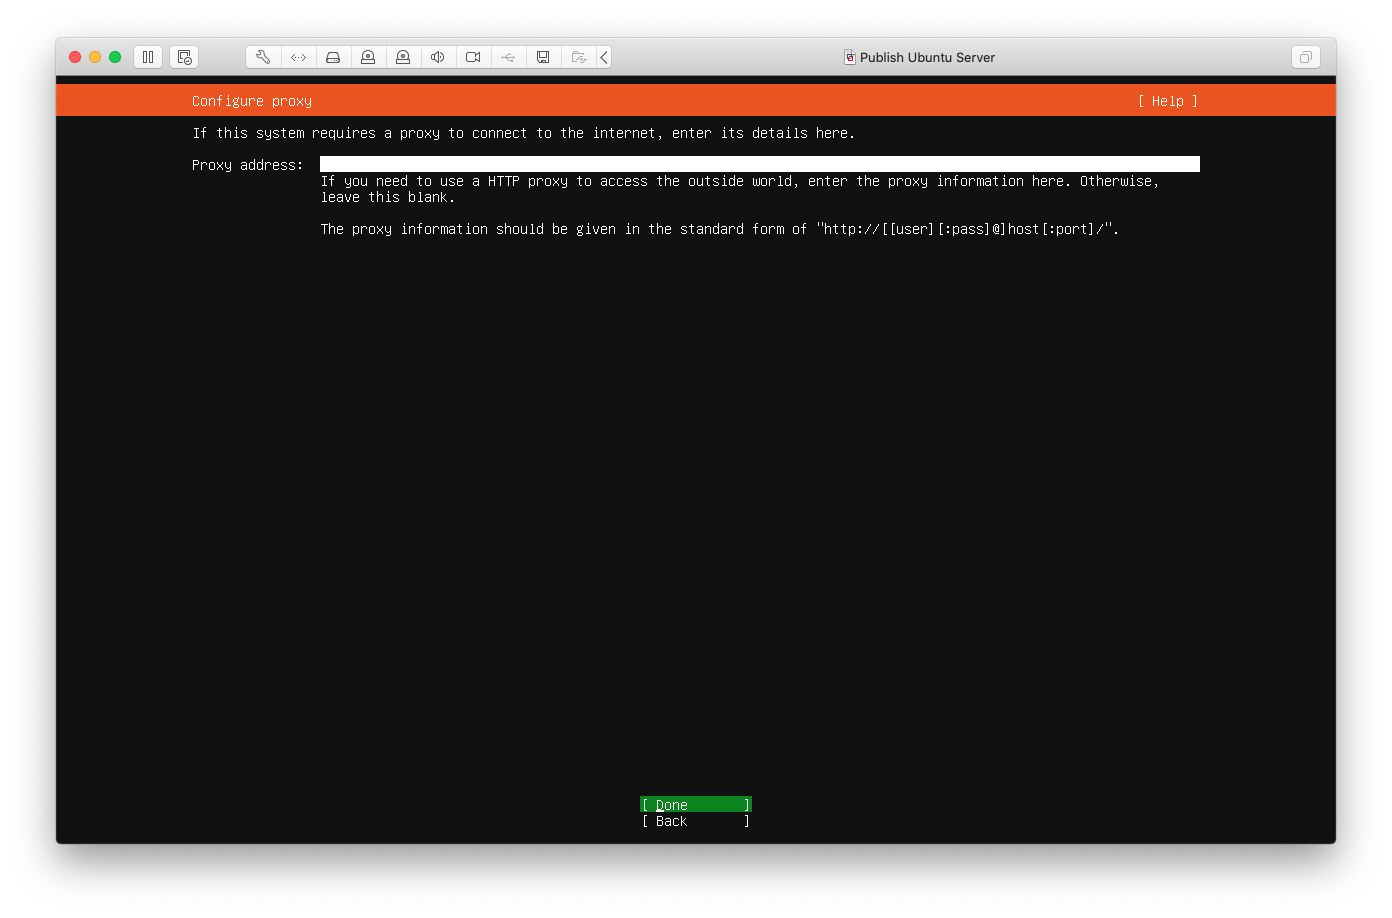
I didn’t need to setup a proxy.
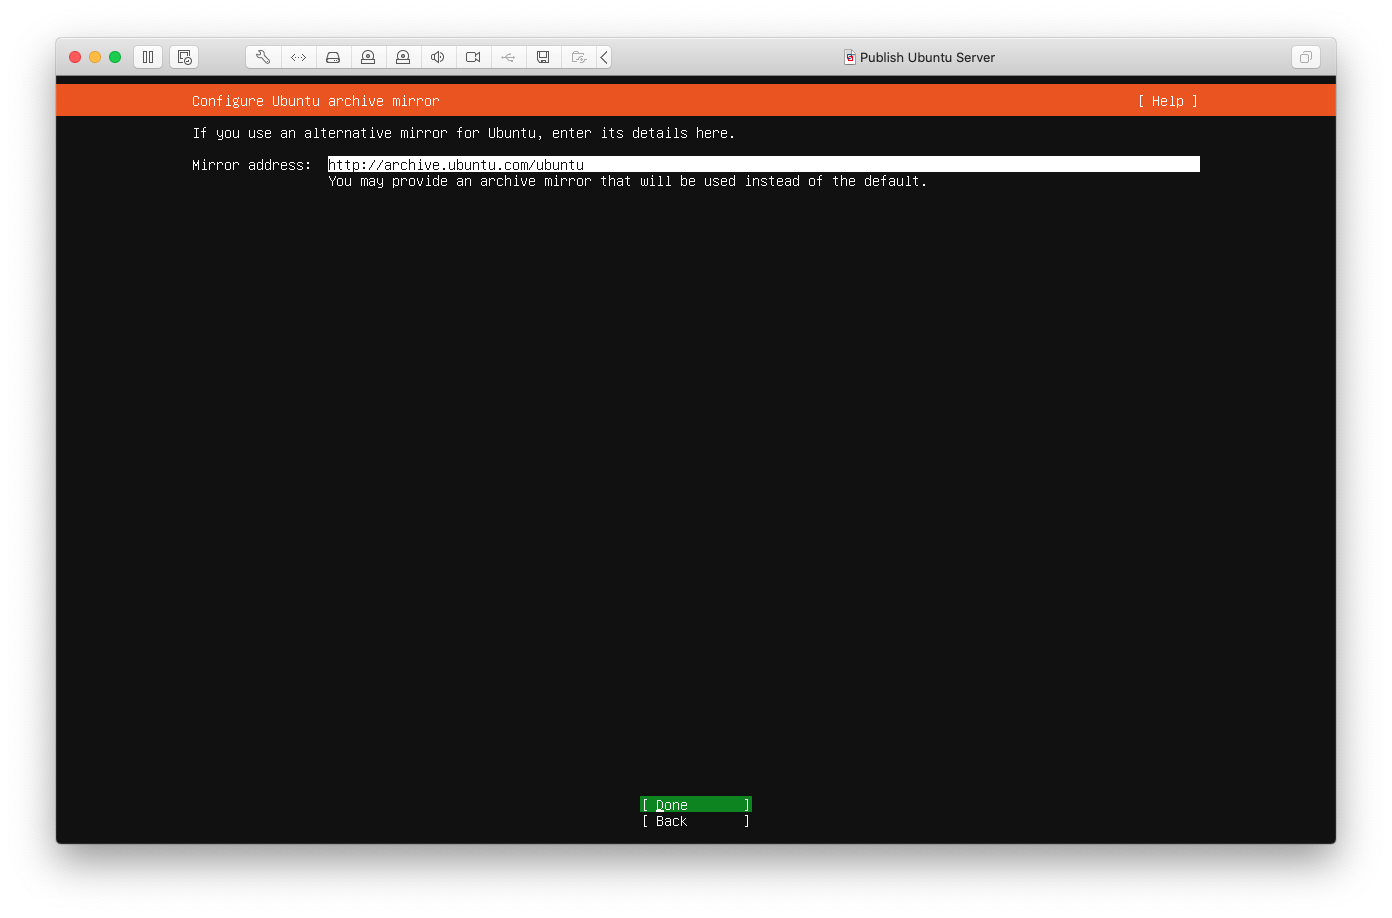
Nor did I change Ubuntu archive mirror to use.
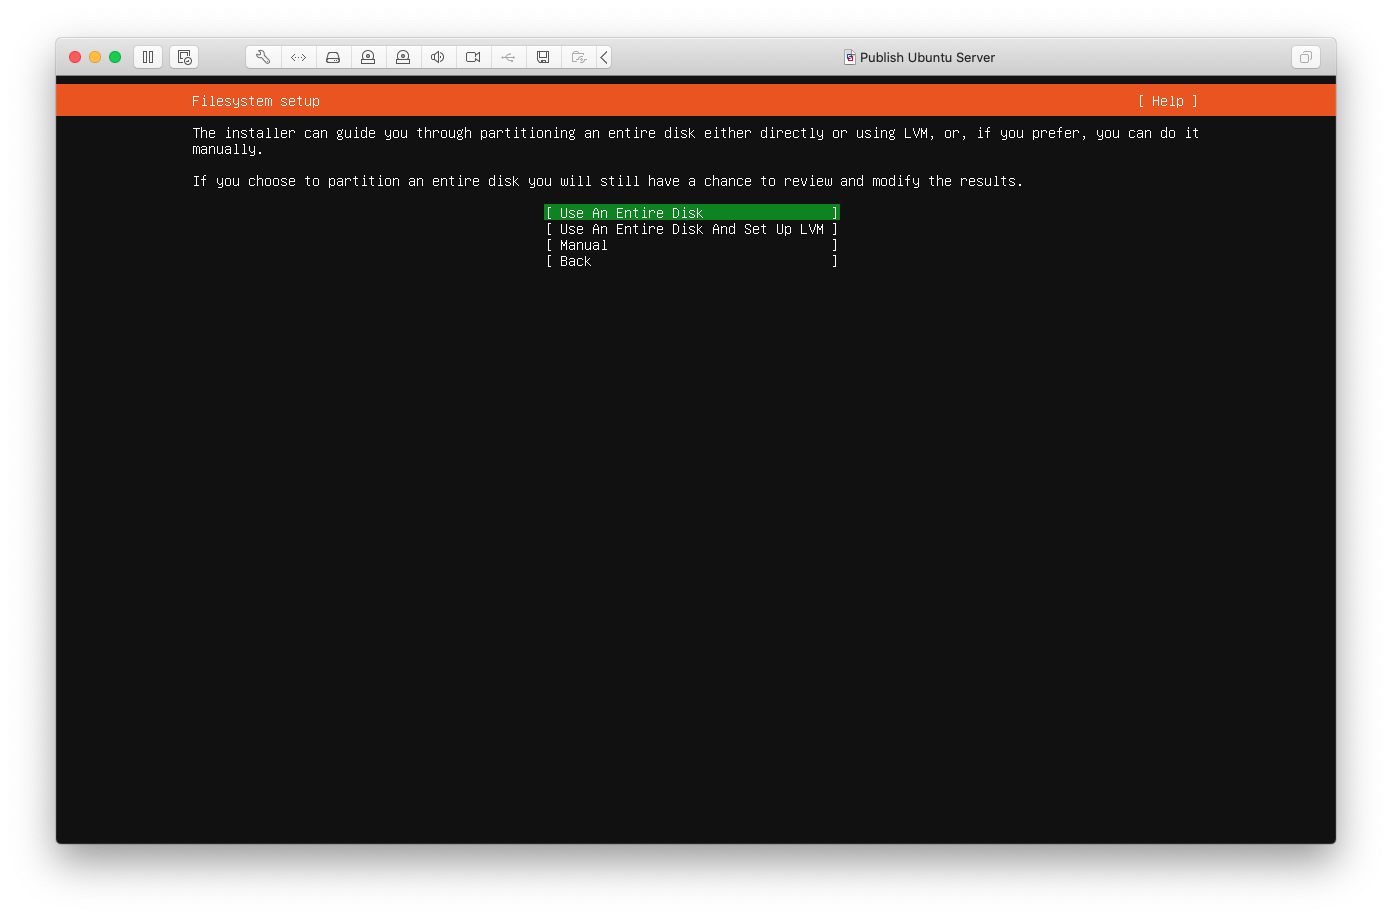
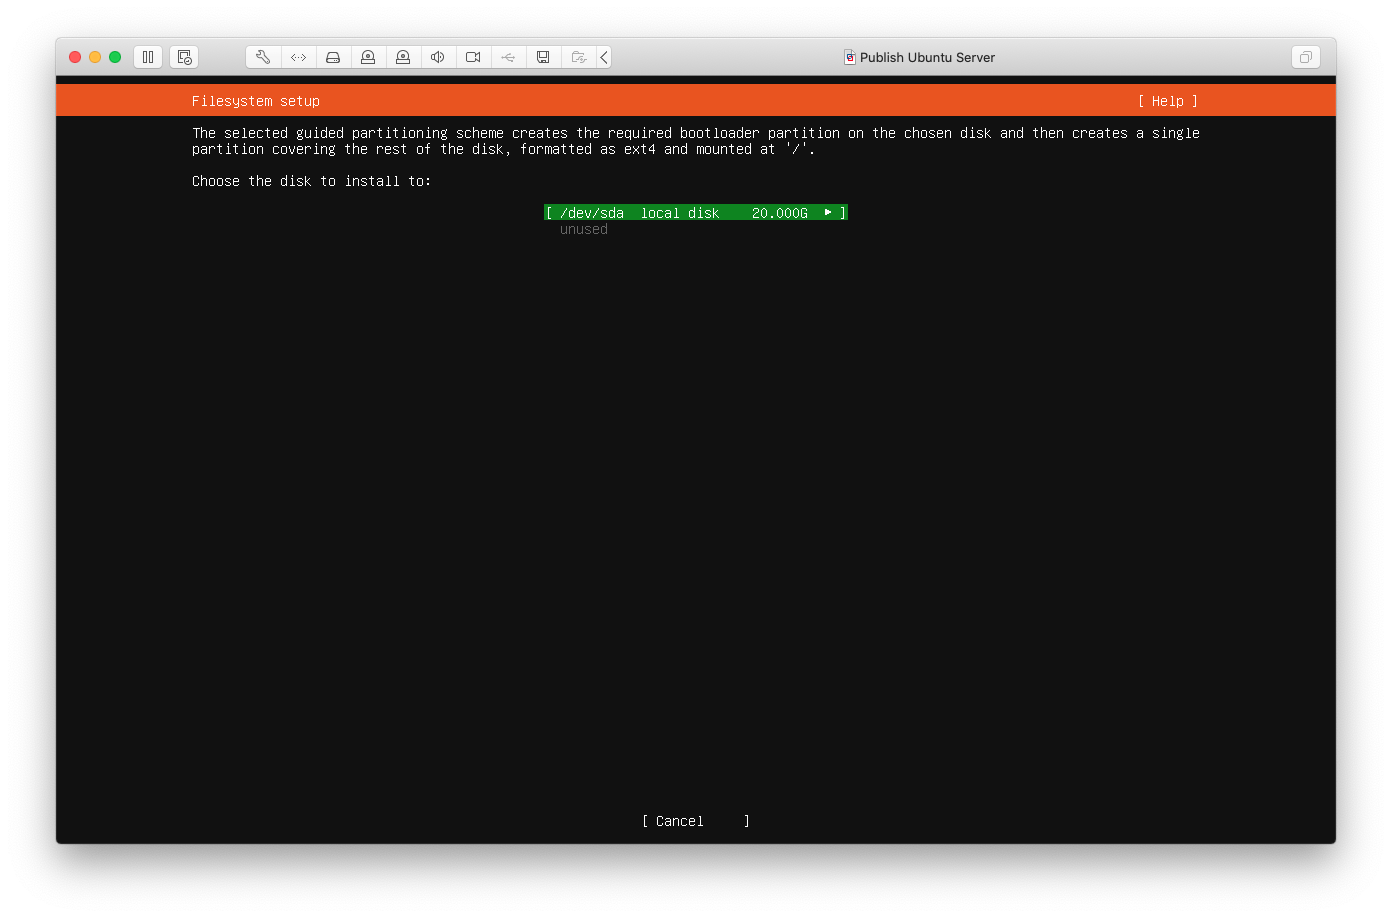
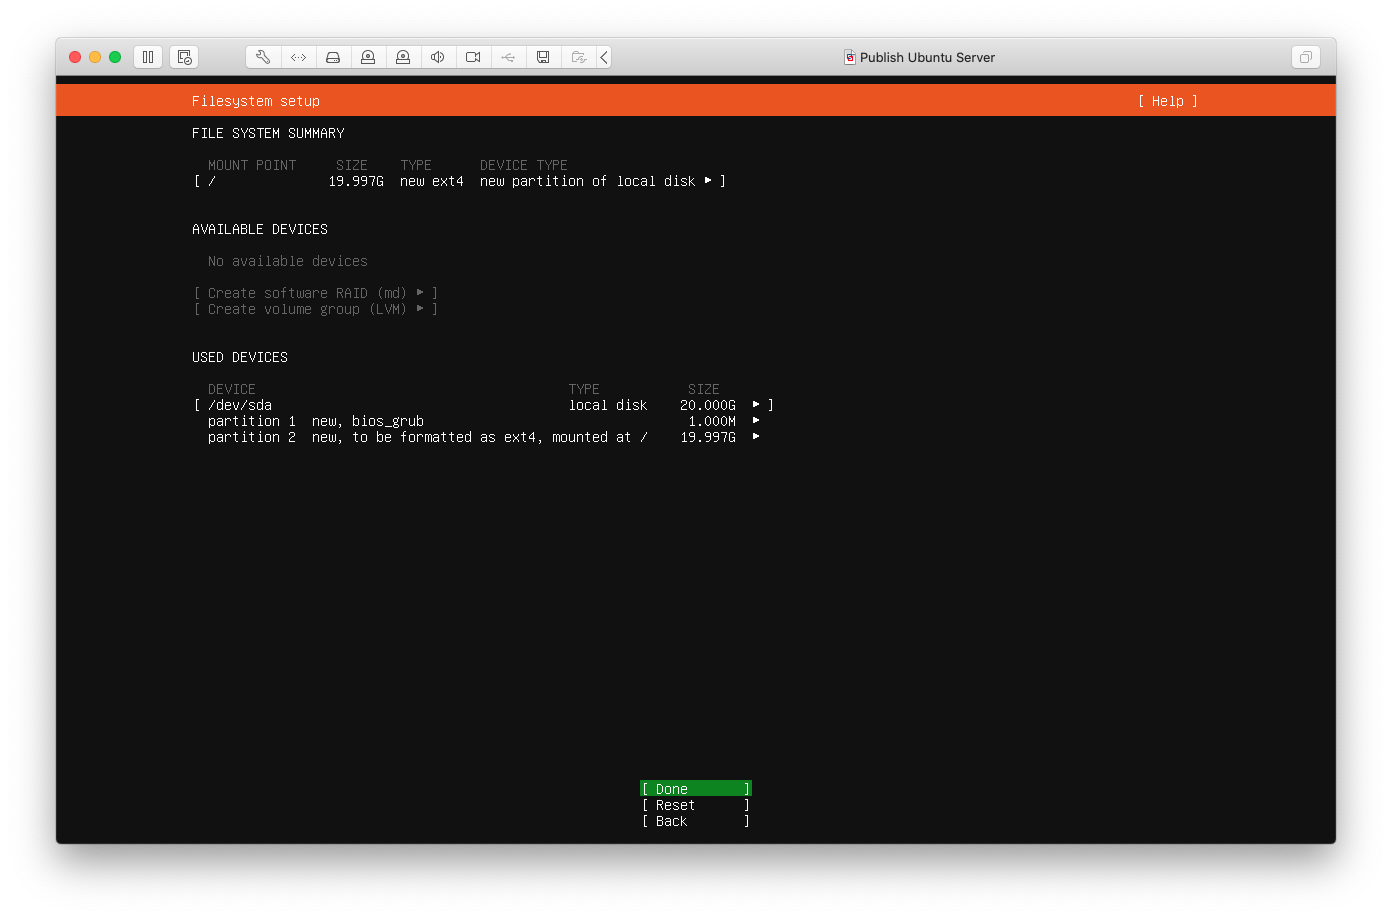
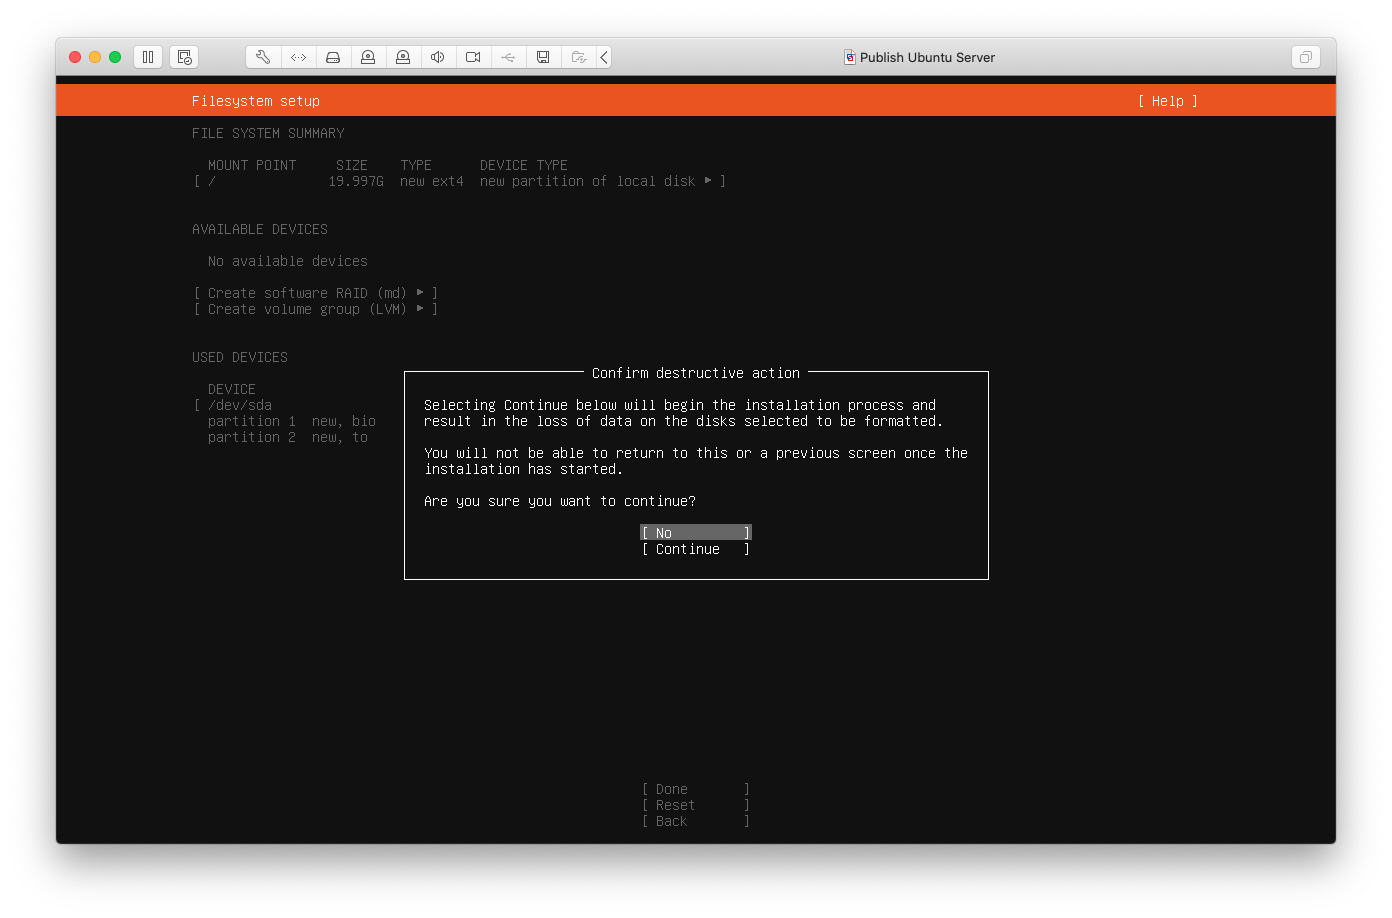
Now we go through a few steps to setup the Filesystem. These were all the defaults.
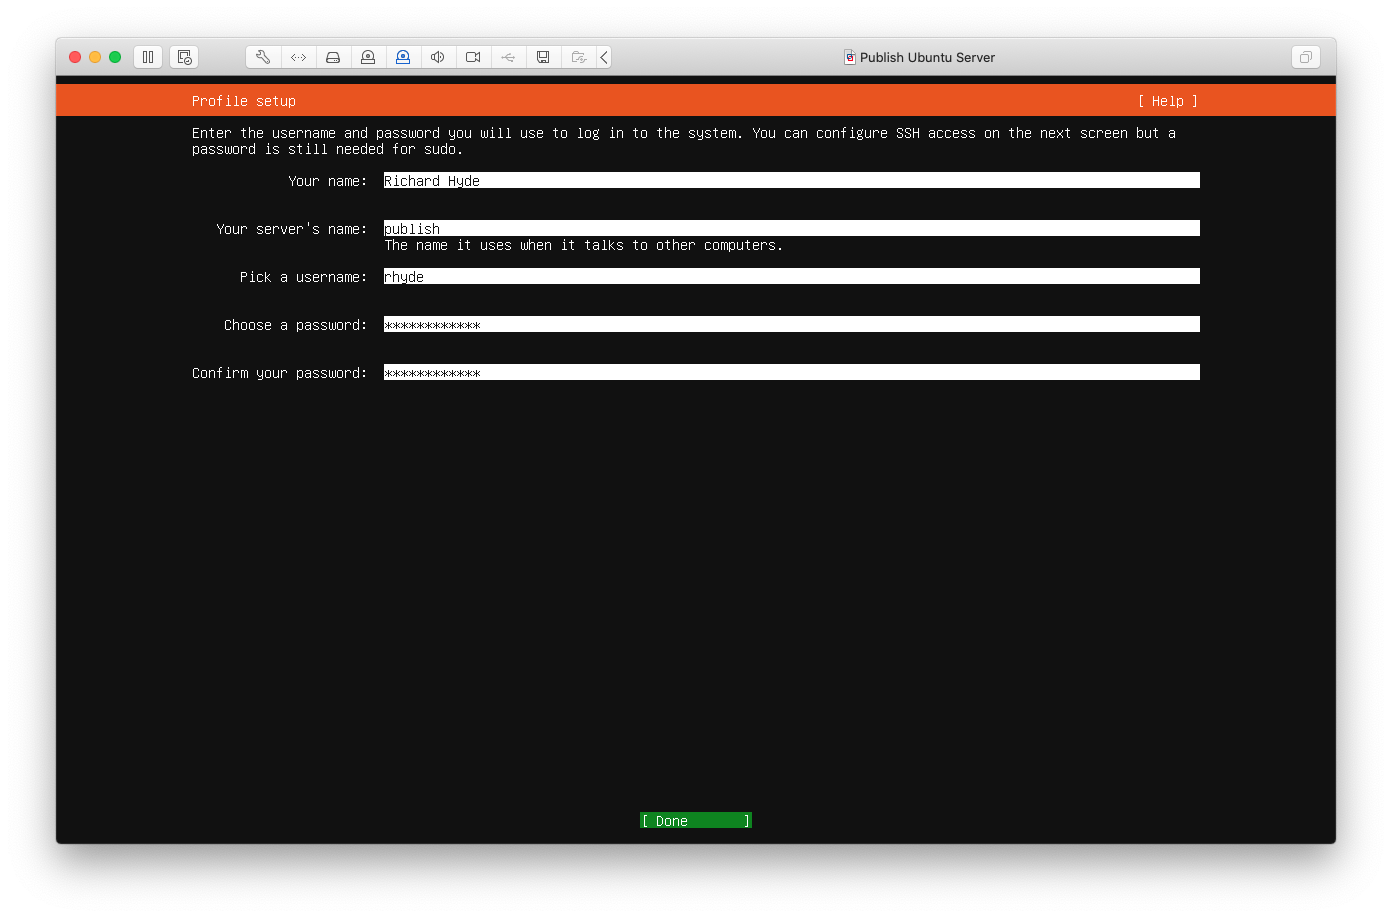
Details of your user and name your Ubuntu Server.
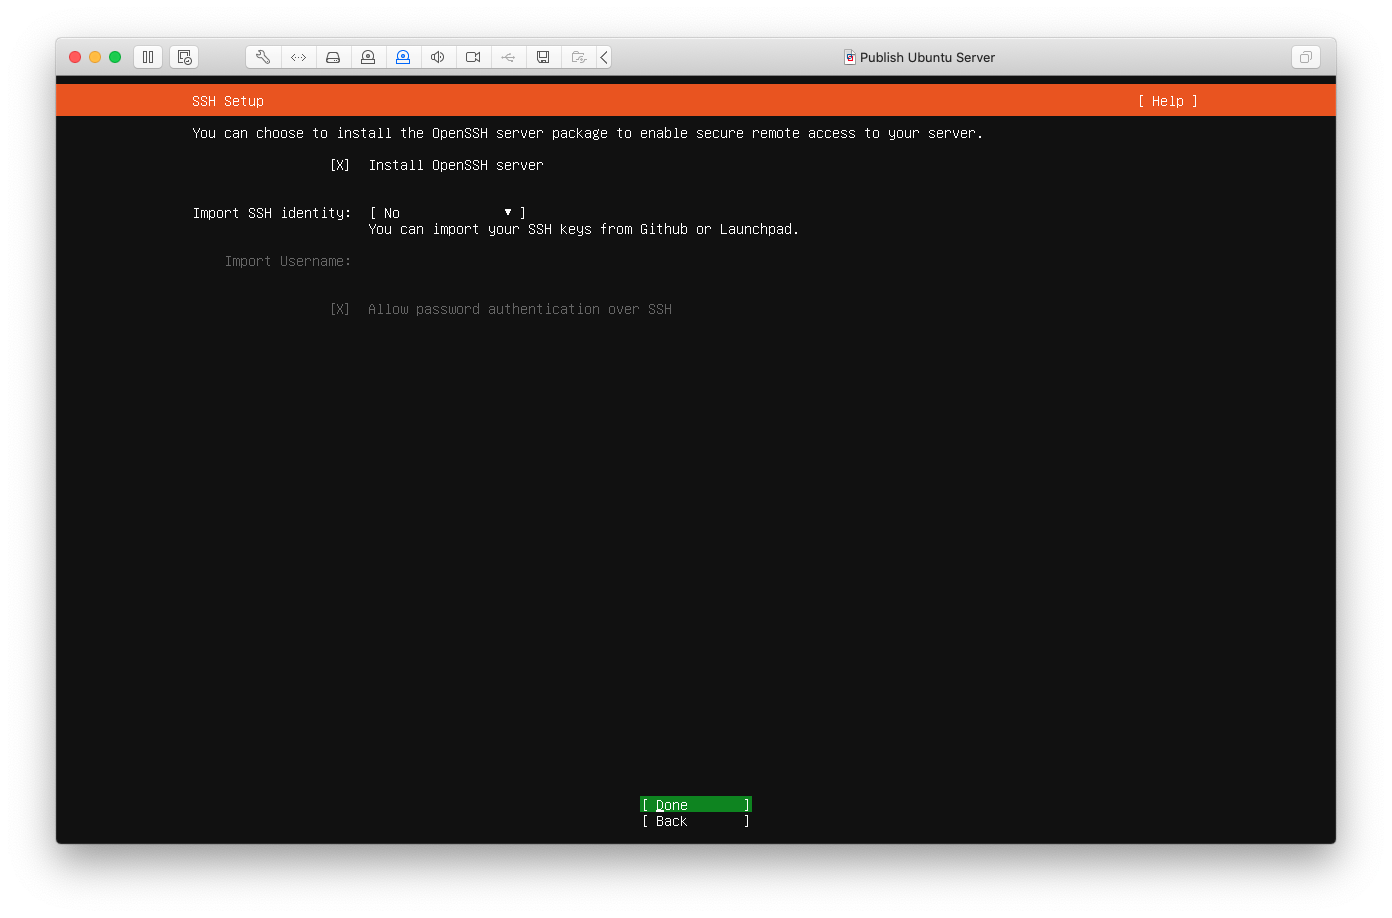
I choose to install OpenSSH at this point.
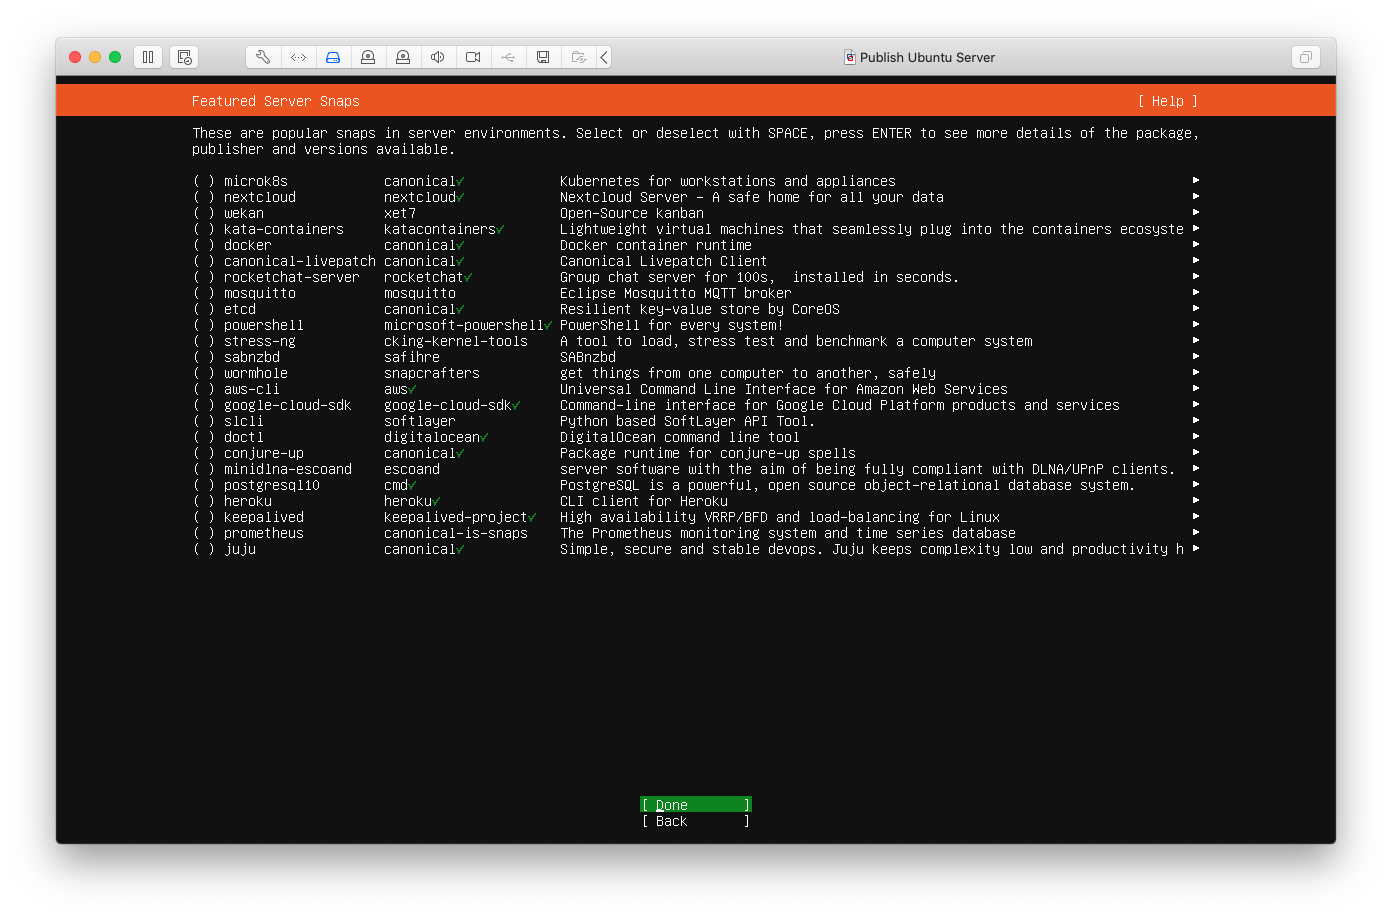
You can select any Snaps you want installing here. I went for a vanilla server install.
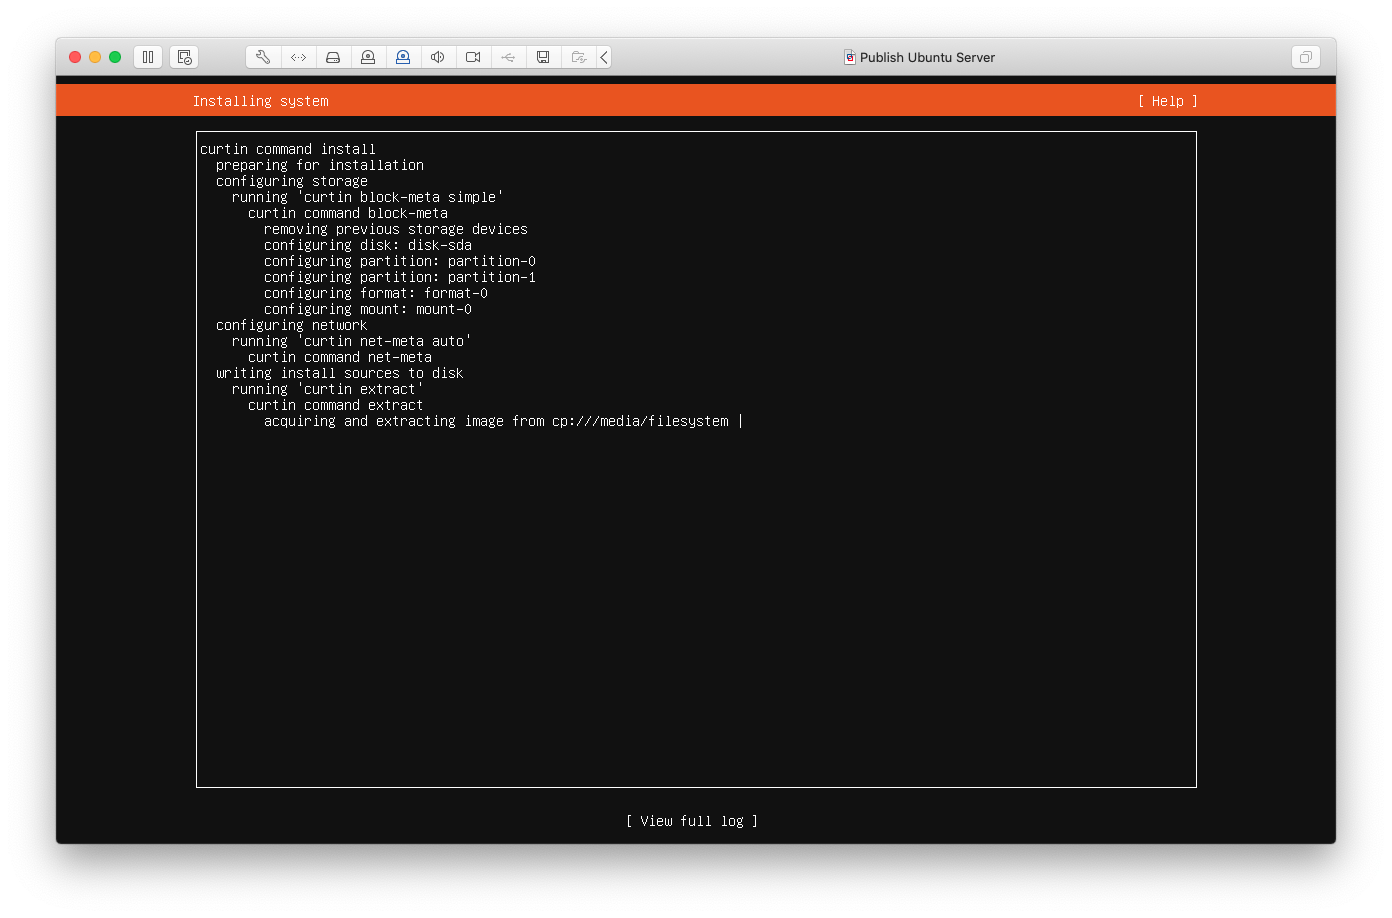
The installation begins.
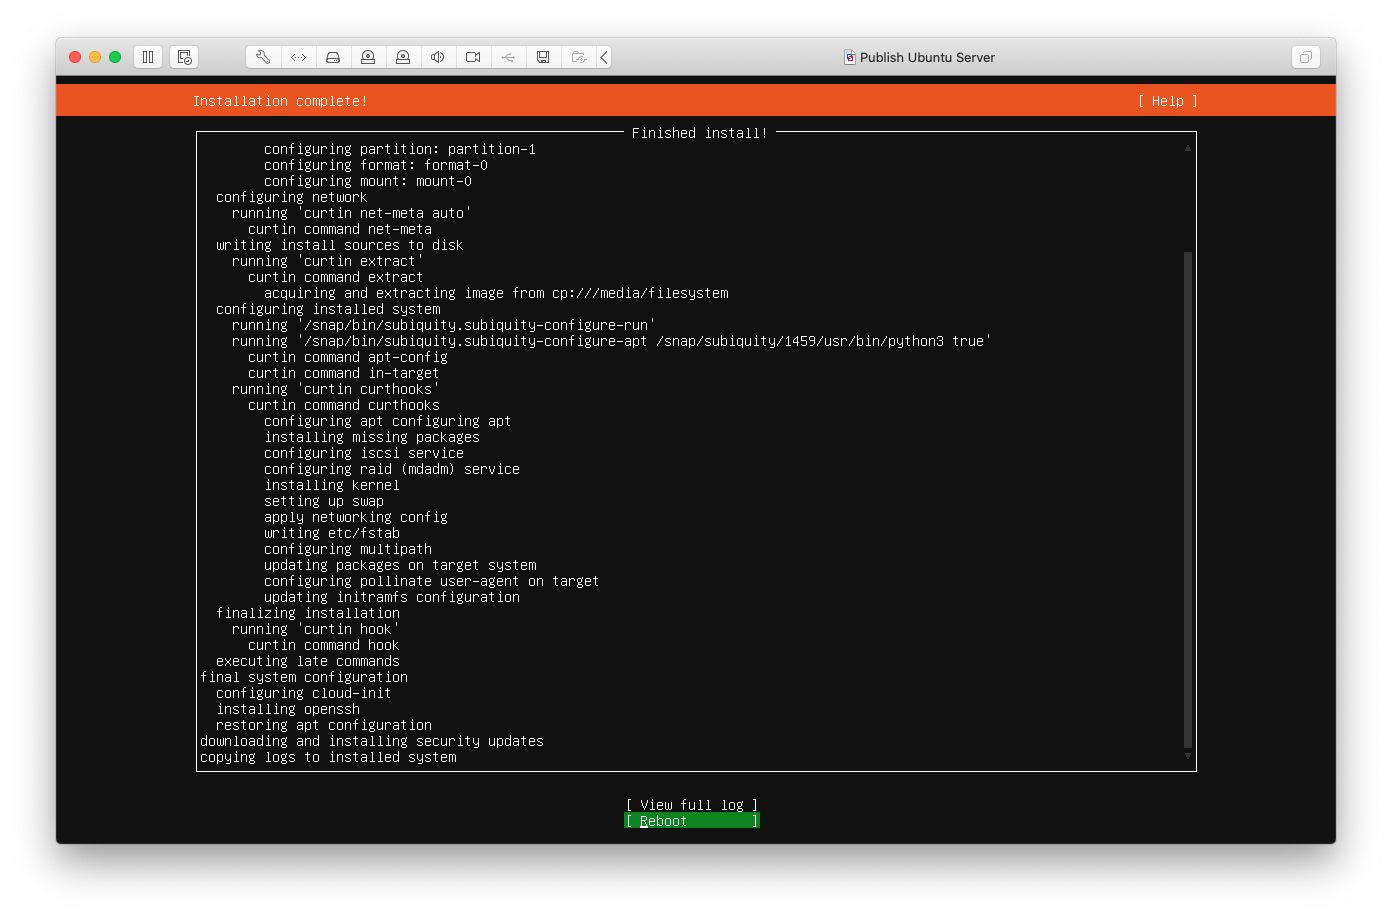
Once the installation has finished you can reboot.
All Done
That’s it. You should now have a Ubuntu Server VM running ready to install whatever you need on it.